How Often Should You Clean A Chicken Brooder?
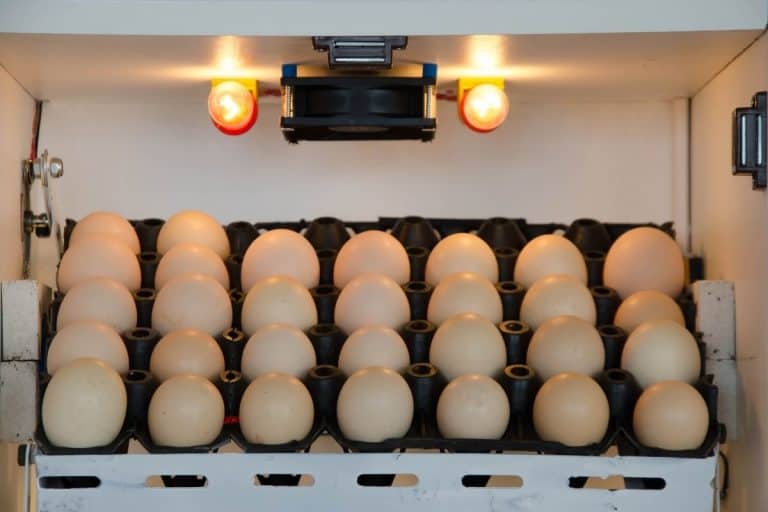
A brooder is the first place chicks call home after they hatch from the eggs. As chicks are sensitive and have a weak immune system, cleaning and maintaining the hygiene of a chicken brooder is a top priority for the owners, and they should be well aware of how to do so.
When the chicks are young, you may clean the brooder every two to three days, but as they grow, you’ll need to do it every day. There is no specific timeline for cleaning a chicken brooder; it all depends on the size of the brooder, the number of chicks, and their age.
Cleaning a chicken brooder is not as straightforward as it may appear, and there are several key considerations to make while doing so. Our small animal veterinarian has put together an extensive guide on how often to clean a chicken brooder and its proper procedure, so read on.
But before you dive into this topic, did you know I've got a page packed with my go-to chicken stuff? From the best feed to handy tools, it's all there. Don't you want the best for your flock? Check it out right here.
How Often Should A Chicken Brooder Be Cleaned?
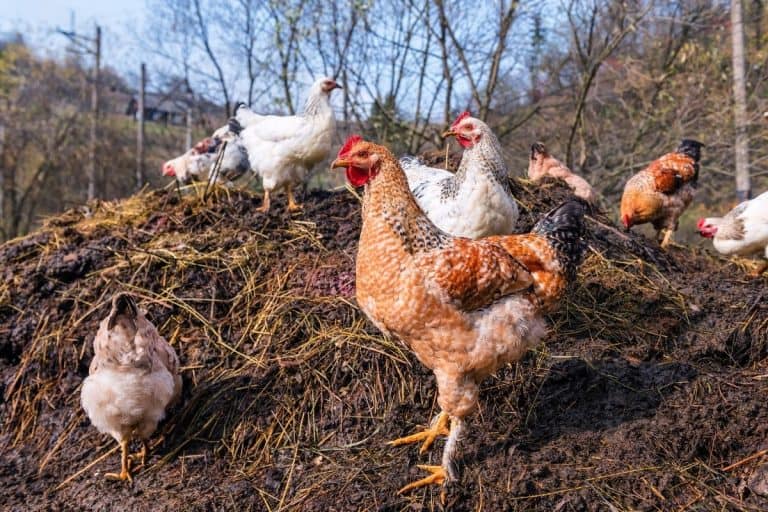
Chicken brooders come in a variety of sizes, however, they can be classified into two sorts. If your brooder is a cardboard box, metal trough, plastic container, or wooden box we can term it a “brooder box”.
In large setups with lots of chicks, a complete space is set aside for brooding, which is known as a “brooding area”. I’ll explain to you how often you should clean each of them.
Cleaning a brooder box
When the chicks are small, a brooder box should be cleaned every one to three days, depending on your preference and the size of the brooder box. As they grow and produce more waste, you might need to clean the brooder box every other day.

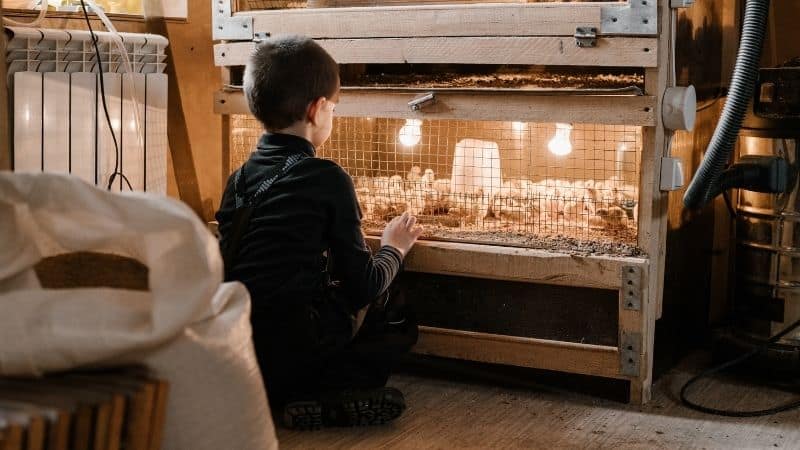
Daily cleaning is not required when the chicks are young, usually below the age of three weeks, but as they get older and start eating more feed, they will defecate more frequently, requiring daily cleaning.
If there are only one to three chicks in a moderately sized brooder box, daily cleaning is not required; however, if there are five or more chicks, the brooder box may need to be cleaned daily or at least every two days.
Cleaning a brooding area
Cleaning frequency for a brooding area with a large number of chicks, often more than 100 chicks, differs greatly from that of a brooding box.
The brooding area shoudl be thoroughly cleaned only once when all of the chicks are older than 6 weeks old and have left the brooding area.
Because of the presence of a large number of chicks, the brooding space is not entirely cleaned throughout the brooding phase, which includes removing all the chicks and changing the bedding. Only racking of the litter or bedding is done, which includes mixing up the bedding to keep it dry.
Once all of the chicks have been shifted from the brooding area proper cleaning will begin, the bedding will be removed and the area will be washed and disinfected before the arrival of the next batch of chicks.
Wait, I have some recommendations for you!
Before you go any further, I want you to take a look at some of the recommendations I've handpicked for you. I think these are essential items you should have for your chickens flock. You can check them out and buy them directly from Amazon.
  | 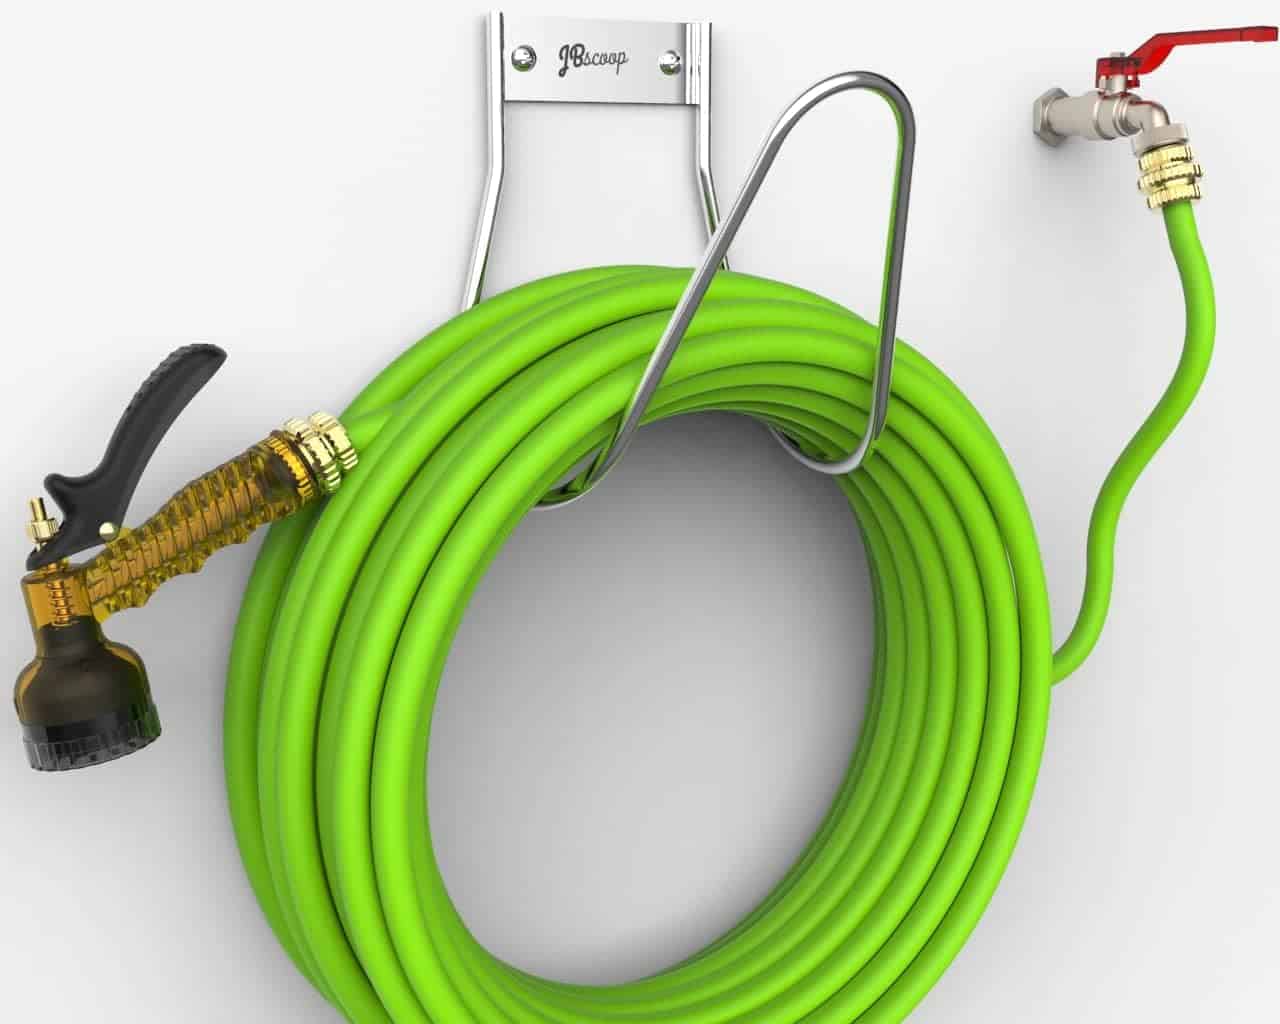 | 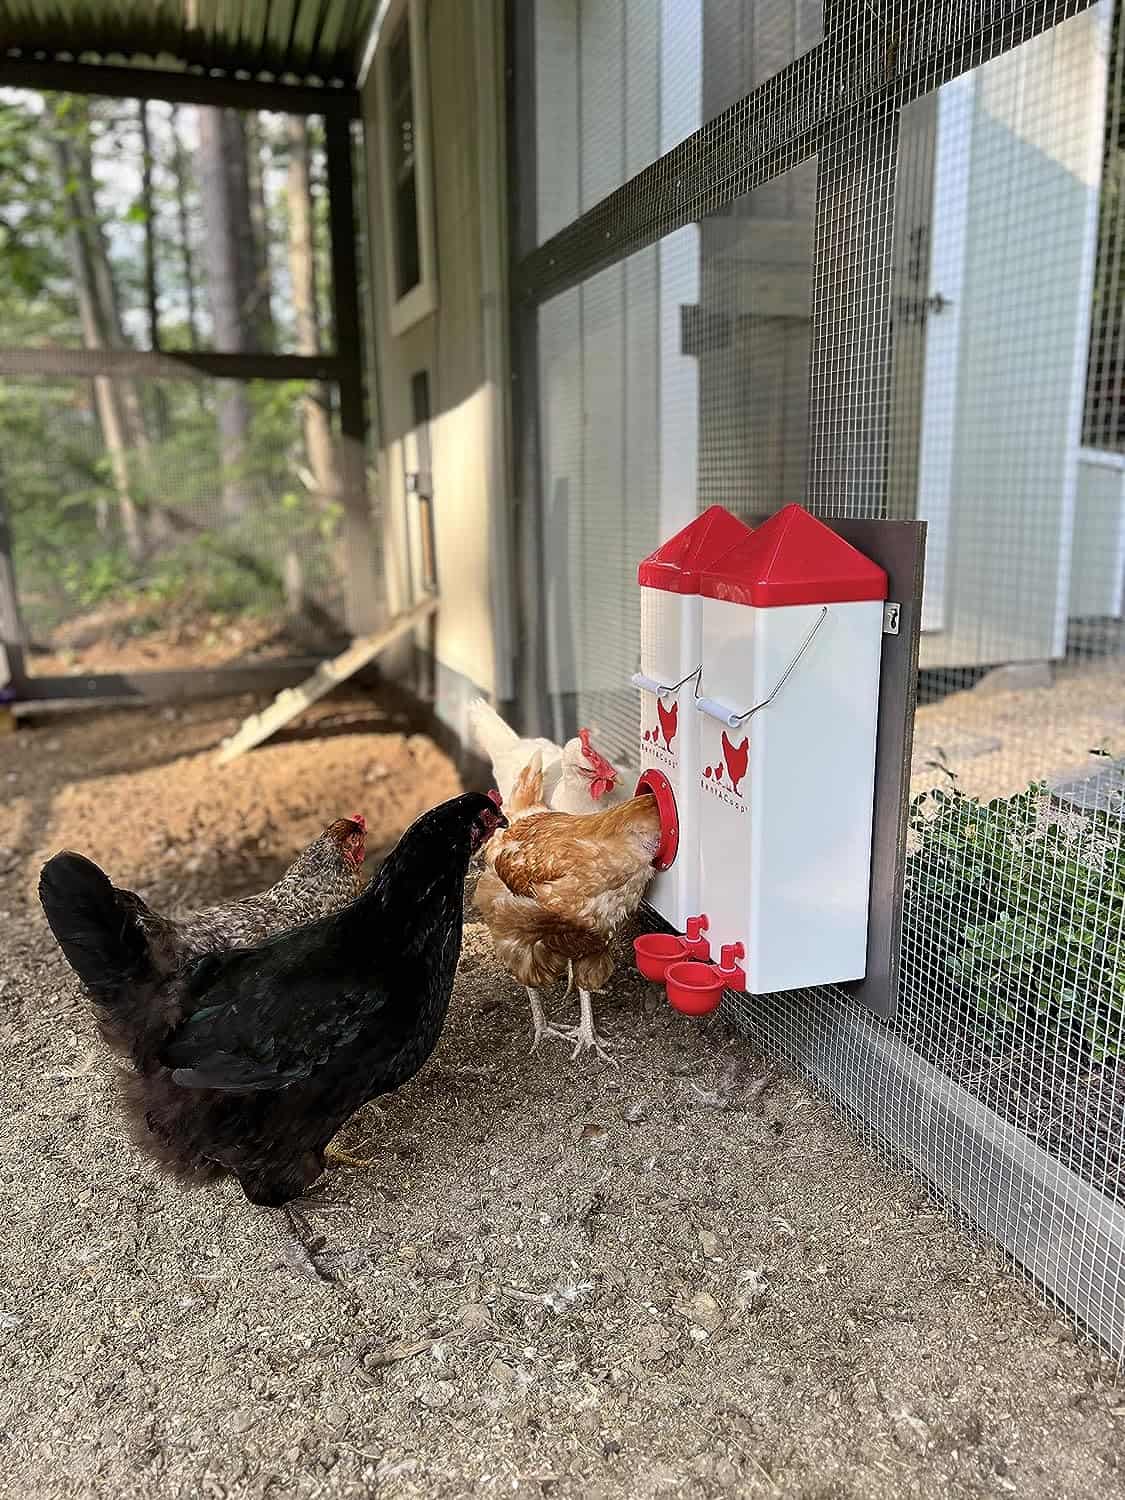 |  |
| Essential accessory for your coop | No more tripping over hoses! | Predator protection made easy | Comfort + style is possible |
How Can You Determine Whether Your Chicken Brooder Needs Cleaning?
Since there is no exact time frame for when to clean a chicken brooder, you must rely on your natural senses, particularly your sense of smell, to determine when to do so. The methods outlined below can help you decide whether or not it’s time to clean your chicken brooder.
1. The odor from the brooder
Ideally, you should clean your chicken brooder and replace the bedding if there is a smell in the air close by. If the brooder needs cleaning, you will notice an ammonia odor, which is usually not a good indicator because high amounts of ammonia in the brooder can cause respiratory difficulties in chicks and make them susceptible to various infections. Therefore, you should clean the brooder if it smells bad.
2. By visual inspection
Inspect the brooder’s environment, particularly the bedding. This will provide a general sense of when the chicken brooder needs to be cleaned.
For instance, it’s a clue that you need to clean the brooder if there is a lot of fecal material in the bedding or if you see clumps of the bedding material stick together, or if the bedding appears damp in some places.
3. Condition of the chicks
A good way to tell if the brooder requires cleaning is to look at the feet of the chicks. If you notice a lot of fecal material clinging to them, you should begin cleaning. Because chicks are highly sensitive to their surroundings, you should take notice if you think they’re not doing well or seem uncomfortable.
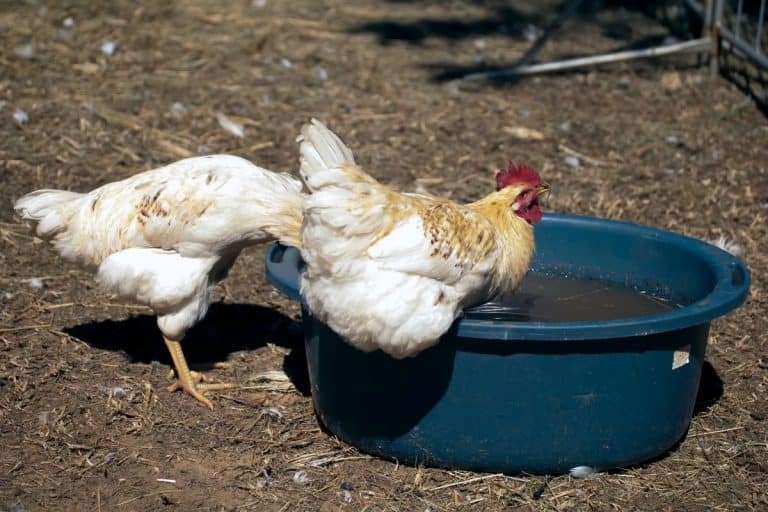
4. Condition of the water and feed
Observing the condition of feed and water is a straightforward way to determine when to clean a chicken brooder. If it has been more than 24 hours since you changed the feed and water and they now look to be overly messy, such as a lot of bedding material mixed in the feed and floating in the water, you should clean the entire brooder.
However, if the bedding appears to be in good condition and the chicks appear to be in good health, you can simply replace the water and feed and possibly clean the brooder one to two days later.
How To Clean A Chicken Brooder
Cleaning a chicken brooder properly is crucial because having a clean environment is crucial since chicks can become ill fairly quickly in a dirty setting. A step-by-step guide for cleaning a chicken brooder can be found below, or you can watch this video for something more visual:
1. Take the brooder outside
If your brooder is small and is within your home, the first thing you should do is move it outside because cleaning the brooder will create a lot of debris and you will not want to mess up your house.
However, if you have it in your garage or garden, that’s okay; you can clean it there. You should clean the brooder where it is located if it is large and heavy.
2. Removing the chicks
The second step in cleaning a chicken brooder will be to remove all of the chicks. This can be done in two ways:
● Remove all the chicks
You should put all the chicks in a separate box or a bucket for some time until the brooder is cleaned. Gently hold the chicks one by one and put them in a separate container.
● Separate the chicks
If you have a lot of chicks in a brooder and don’t want to remove them all, you can just use a divider to separate them all to one side of the brooder. A wooden plank, a plastic sheet, or some other object can be used as a divider.
Clean the vacant space of the brooder after dividing all the chicks to one side, then relocate the chicks to the clean side and clean the other half. In this way, you will save time and don’t have to worry about removing all the chicks.
3. Remove all objects
The first thing you need to do after removing or separating the chicks is to remove all the other objects, such as feeders, drinkers, and any other equipment, such as a light bulb, etc.
4. Remove the bedding
After removing all of the objects, the following step is to remove all the bedding. It’s crucial to remove the old bedding and replace it with a fresh one to reduce the likelihood of diseases in chicks. There are many bacteria in dirty bedding, and if the bedding isn’t replaced, they’ll grow and infect the chicks.
One piece of advice I’d like to give you is to “spray some water” on the bedding material before you remove it because some bedding materials are really fine and will fly into the air when you remove them. By dampening the bedding, you can make it stick together and prevent it from flying around. Allergy sufferers will particularly benefit from this approach.
You can either dump all the bedding out at once if you can lift the brooder and if it is heavy you can shovel out all the bedding.
5. Cleaning and disinfection
This is a step that is completely neglected by most chicken owners but it is of great importance. However, if you only have a few chicks under 8, merely changing the bedding is sufficient and cleaning with water is not necessary. But if you follow this step it is always appreciated since it greatly reduces the incidence of diseases in chicks.
● Brooding box
If the brooder is made up of a cardboard box you can avoid this step. You can clean and disinfect the brooder by simply washing it with water and detergent. If you want to go overboard with this you can use hot water or steam to completely kill all the microbes in the brooder box.
Using a detergent is best for disinfection since it is easily available and economical. After this completely dry out the brooder box.
● Brooding area
A brooding area requires different cleaning and disinfection procedures than a brooding box. The brooding area is only cleaned once when all of the chicks are transferred. Strong chemical disinfectants like sodium hydroxide, phenol, etc. are used in conjunction with water as the cleaning process is carried out after a long period of time.
6. Add new bedding
If you have washed the brooder, add the fresh bedding after it has completely dried out, or the bedding will become moist. You can add various bedding materials, such as pine shavings and wood shavings, etc.
Distribute the bedding evenly throughout the brooder and create small mounds of it since chicks like to spread the bedding with their feet. I suggest putting some sand into the bedding to make it easier to remove because the sand will clump up when you spray it with water while removing the bedding.
7. Put back the feed and water
Place the feeders and drinkers in place and set up the light bulb.
8. Put back the chicks
If you removed all of the chicks at the beginning, simply place them in their tidy home one at a time.