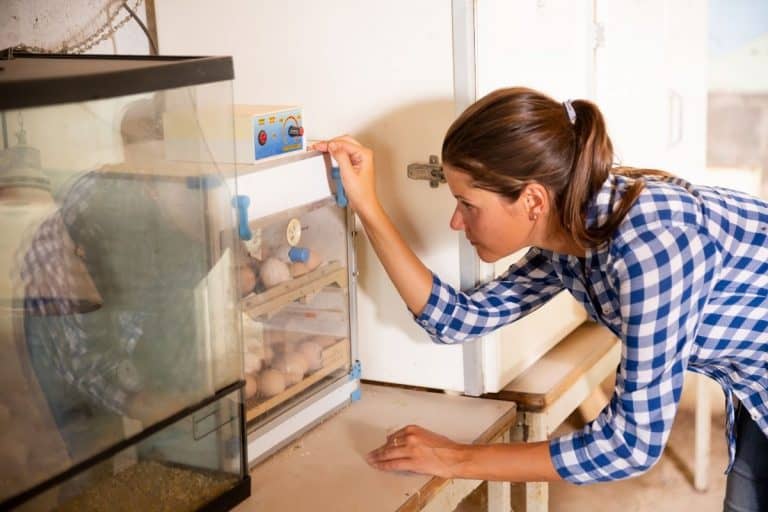
What Is The Dry Incubation Method For Chickens?
Raising a flock of chickens can be a lot of work, and the same goes for incubating and hatching eggs. If you aren’t having your hens sit on the eggs and turn them regularly, there are two other ways for incubating; the dry and traditional methods. The dry technique has become more popular as improper humidity control can cause issues with low hatch rates, losing chickens and money in the long run.
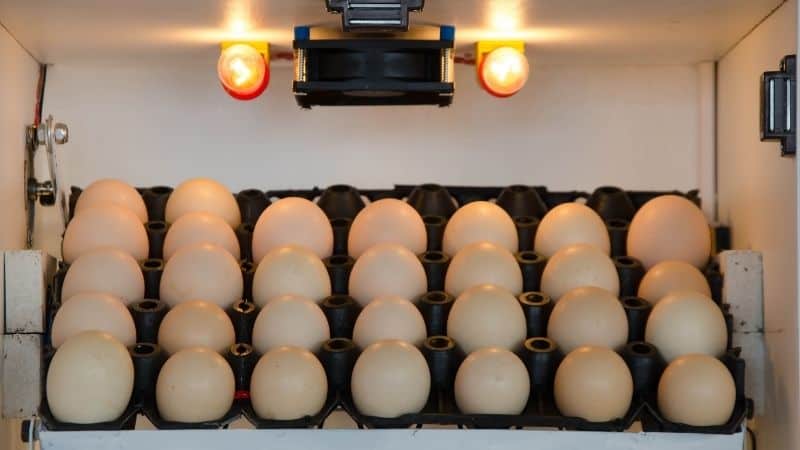
The dry incubation method is where no water is added to the incubator for the first 18 days, then during the lockdown phase, the humidity is increased to about 70%.
There is nothing worse than spending the time, money and effort to hatch chickens and then have a low hatch rate. If you are having issues with hatch failures, this is most likely due to too much humidity. So I’m here to help explain how the dry incubation method could boost your hatch rates and bring you some peace of mind!
Hey chicken buddies: Quick heads-up before going further! I've put together a list of stuff I use and love for my flock. If you're curious about what keeps my hens happy, click here to find out.
Why Should I Use The Dry Incubation Method To Hatch Chicken Eggs?
If you are having a high success rate with your chickens by using the traditional method, then stick with it, but if you are struggling and losing chicks during the last few days of incubation, then switching to the dry method can help.
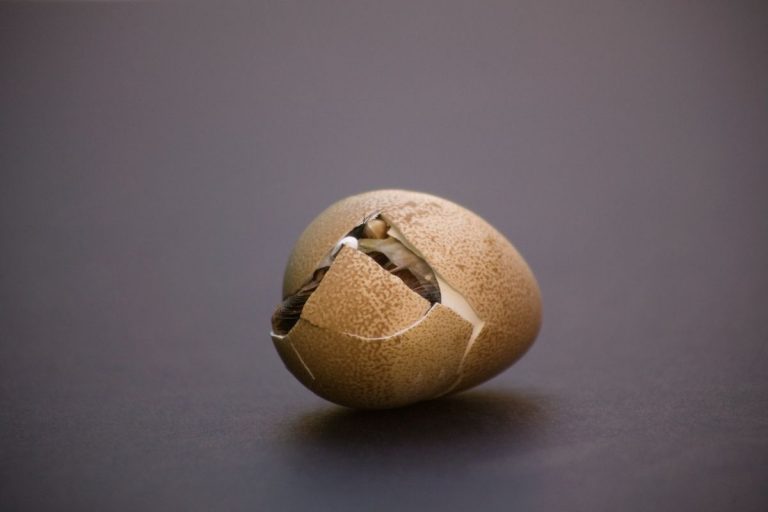
While incubating eggs is a relatively simple process, it is still a delicate one. A lot of things can go wrong when these fragile little babies are still growing in their shells. Temperature and humidity play very large roles in the success of a hatch, and if either one of those is slightly off, then it can spell disaster! In order for chickens to survive the incubation process, they need to lose moisture from inside their shell, otherwise, they will drown and no longer be viable.
Chicken Fact: The biggest reason for hatch failures is having humidity that is too high in the incubator.
Wait, I have some recommendations for you!
Before you go any further, I want you to take a look at some of the recommendations I've handpicked for you. I think these are essential items you should have for your chickens flock. You can check them out and buy them directly from Amazon.
 |  |  |  |
| Essential accessory for your coop | No more tripping over hoses! | Predator protection made easy | Comfort + style is possible |
Does Climate Affect The Incubation Process?
Because your climate’s natural humidity can have a large effect on the success of the dry method, you will want to keep a close eye on the hygrometer in the incubator (measures humidity). If you are noticing that even without adding water to the wells of the incubator, the humidity level is still higher than you want for the dry technique, it may not be possible to use this method.
For instance, during the summer months in the midwest, US, it can become super humid and the chicks have a hard time losing the moisture that they need for proper hatching. Sometimes, it is necessary to place a dehumidifier in the room with the incubator during the warmer and stickier months of the year.
People who live in very dry climates may not be able to use the dry incubation method because the chicks will lose too much moisture during the process and not be viable by the lockdown phase.
Is Using The Dry Method Really The Best Solution For Hatching Eggs?
Why does this method work the best? Well, the goal during incubation is for the eggs to lose 13% of their weight by day 18 so that they have enough of an air pocket to breathe and hatch.
The dry method eliminates the issues with maintaining humidity, only requiring water during the final 3 days of incubation, i.e. the lockdown period.
There is a good reason why this hatching technique has become more popular and it’s because it works well! If you are struggling with hatch failures when using the traditional method for incubation, then you should try the dry technique. Remember, the biggest reason for poor hatch rates is improper humidity during incubation.
Why Don’t People Use Natural Incubation With Chickens?
It’s always a matter of preference really. Natural incubation with a broody hen certainly has its pluses and minuses when compared to an incubator you purchased at the store or online. Even if you have a hen that wants to sit on a clutch of eggs, you should always have a backup plan if she decides to abandon them or you become uncomfortable with the idea.
No matter what method you choose to use, whether it’s a live hen, the dry or wet incubation method, there will always be pros and cons.
A Broody Hen
Using a healthy, broody hen for hatching eggs can be greatly beneficial for everyone. It means that you don’t have to do as much, except ensure she’s doing her job. However, there are several things to consider before using a hen for incubation and hatching.
Pros:
- The hen is the incubator and the brooder box; nothing fancy required
- She turns the eggs and removes any that are non-fertile or non-developing
- The hen plucks her breast feathers to allow for skin-to-skin contact for humidity
- She shows them the ropes: teaches how to drink and what to eat/find food and takes them on short trips outside for fresh air and exposure to boost their immunity
Cons:
- You can’t force a hen to become broody, so timing incubation and hatching can be difficult sometimes
- Some hens will abandon the nest halfway through the process
- Some hens aren’t great mothers after the chicks have hatched and will sometimes ignore, kill or maim their young
- Some chicks aren’t as friendly when hatched and raised by hens due to less hands on exposure with people
- Chicks and eggs are vulnerable to rats, snakes and other predators
Wet Incubation Method
Keeping eggs in an incubator will require more work from you compared to if you had a broody hen. However, you are able to have more control over the situation, likely ending up with more live chicks at the end. You will need some equipment, such as an incubator, water, a thermometer, a hygrometer and of course, an electrical source.
Pros:
- You can incubate and hatch eggs anytime you want. No need to wait on that broody hen!
- Safe from predators and other chickens that would do the eggs or chicks harm
- Control over the temperature and humidity
- Depending on the size of the incubator, you can hatch more eggs at a time than a broody hen can sit on
Cons:
- COST. Incubators can be expensive. I recommend using the Brinsea Advance Automatic Incubator. I prefer the more humble size that fits about 7 eggs. It’s around $150 online
- Lose your power, lose your eggs
- If your incubator doesn’t have an automatic turner you will need to do this by hand several times a day
- Monitoring temperature and humidity can be a pain and if you don’t have it right you can lose your whole hatch
- The chicks need a brooder box, bedding, heat lamp, feeder and water fount after they hatch
- They aren’t with the rest of the flock while they grow up, so introductions with the other members can take a while
Dry Incubation Method
There are minimal cons with the dry incubation methods, as it is technically more simple than the wet or traditional method because you don’t have to micromanage the incubator’s humidity for the first 18 days. However, every technique does have at least one pro and con.
Pros:
- Higher hatch rate success due to minimal humidity
- Easier to manage because of the lack of humidity control
Cons:
- Climate can greatly affect the dry incubation process. If it is too humid, you will struggle to keep the humidity down. If it’s dry where you live, you will need to be sure that the eggs aren’t losing too much moisture
Is Dry Incubation The Method For You?
As I said earlier, it’s about preference at the end of the day. However, the dry incubation method requires less maintenance and micromanaging of the humidity. When I used the wet incubation method, I found it really annoying and tedious sometimes. By having an easier and more user-friendly hatching method, many of us backyard flock raisers are losing far fewer chicks to poor humidity control.
At this point, I’ve used all three methods and dry incubation is by far my favorite and I don’t think I’ll ever go back to using a broody hen or the wet incubation technique. I was losing several chicks per hatch though, so if you are having success with the method you use, then don’t change it up! Keep doing what works best for you and your flock. After all, as long as we receive healthy and happy chicks, we are all happy in the end!

