Can The Incubator Be Opened During Hatching? (+Many tips)
The incubation process is truly a delicate one and requires quite a bit of attention. While chicks are trying to hatch, it is key that the humidity and environment are where they should be, otherwise, disaster could strike and your chicks could fail to emerge from their shells. Which no one wants that!
During the final three days (lockdown phase) of incubation, the incubator should not be opened, as the change in humidity will cause the membrane inside the shell to shrink and trap the chick.
When using an actual incubator and not a live hen, you will want to be careful and follow the proper steps to ensure that you have a successful hatch rate. Making a mistake as serious as opening the incubator during the lockdown phase can be detrimental to the eggs you just spent almost 3 weeks mothering. Keep reading to find out more info about the incubation process!
Hey chicken buddies: Quick heads-up before going further! I've put together a list of stuff I use and love for my flock. If you're curious about what keeps my hens happy, click here to find out.
What Is The Incubation Timeline For Chicken Eggs?
There are many steps to incubating your own chicken eggs. Starting the process of raising chickens is a fun project that the whole family can enjoy! Incubation of chicken eggs takes about 21 days from start to finish.
You may need a few items and information to get started, but you will be ready to go in no time. Read further to find out how the incubation process works and what to do during lockdown.
Wait, I have some recommendations for you!
Before you go any further, I want you to take a look at some of the recommendations I've handpicked for you. I think these are essential items you should have for your chickens flock. You can check them out and buy them directly from Amazon.
 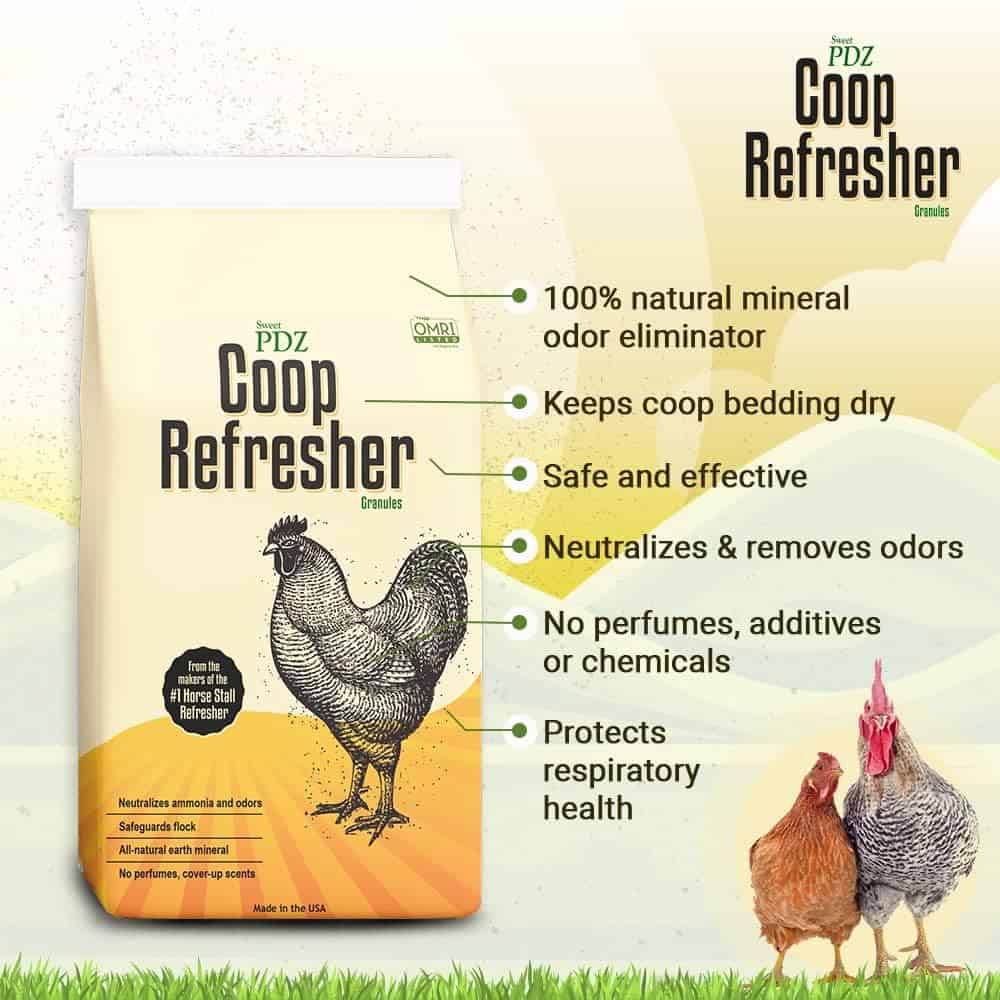 | 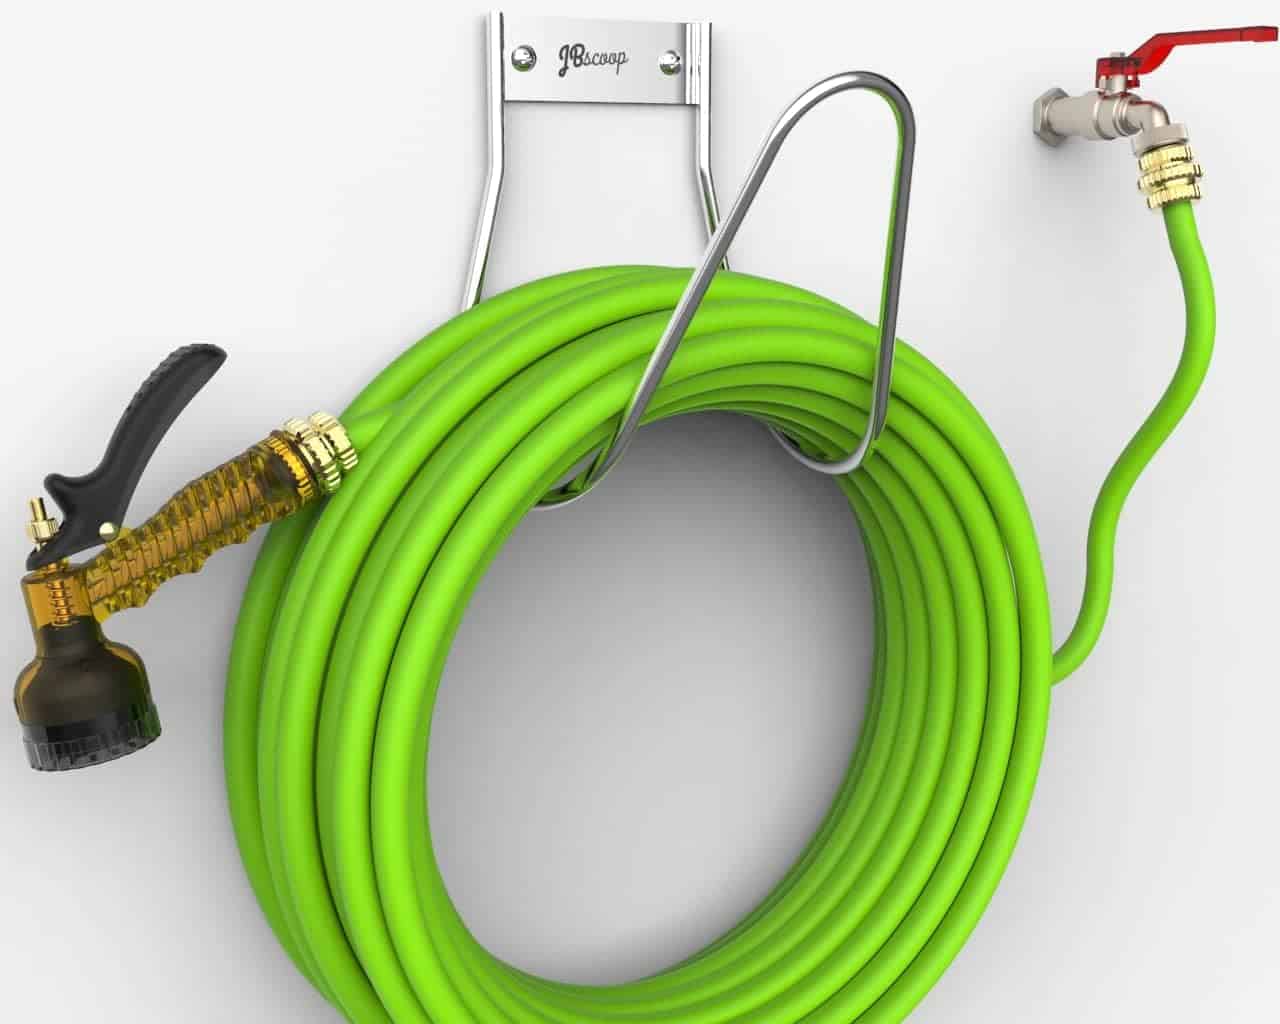 | 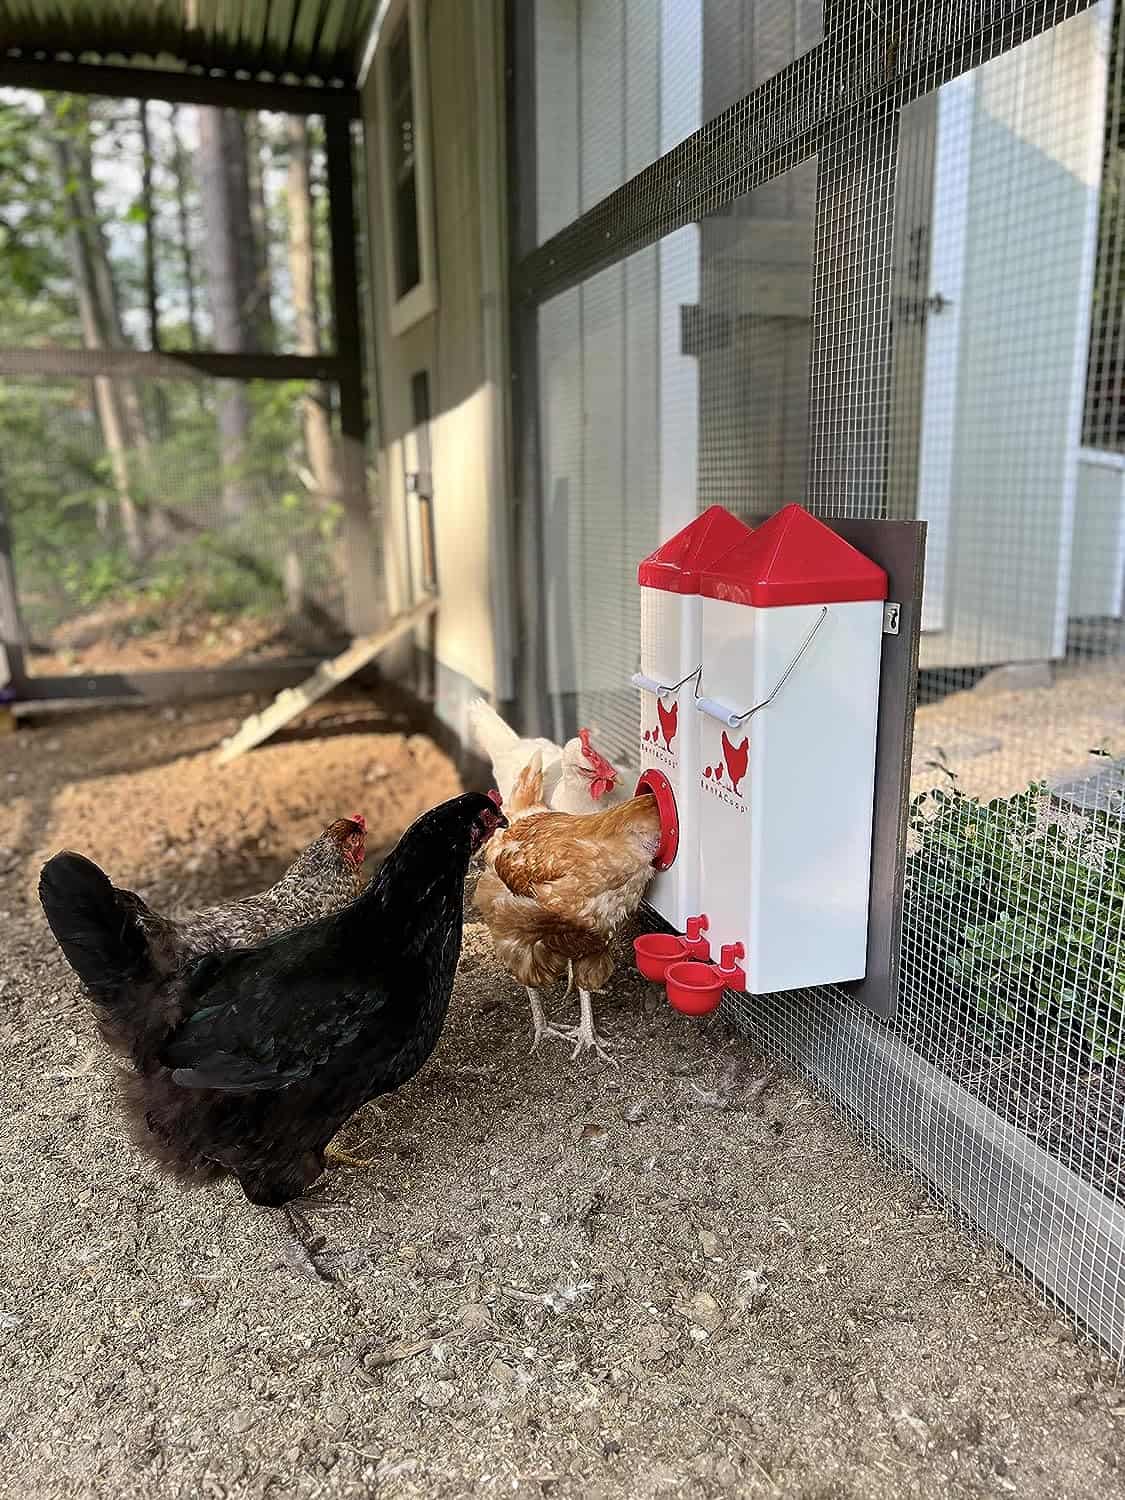 |  |
| Essential accessory for your coop | No more tripping over hoses! | Predator protection made easy | Comfort + style is possible |
#1: Acquire Fertilized Eggs
First thing is first, you will want to have fertile eggs. You can obtain these from your own hens or from people who have hens that are housed with a rooster. Some folks find fertile eggs online that they have shipped to them, however, these mail-ordered eggs tend to have a lower hatch rate.
Pro Tip: DO NOT wash your eggs off. Eggs are covered in a protective, natural coating called “bloom” which keeps bacteria from seeping in through the porous shell.


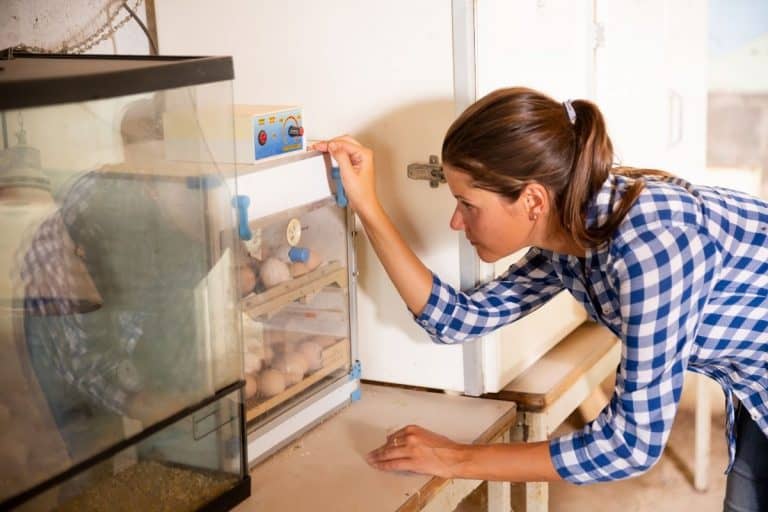
#2: Set Up Incubator
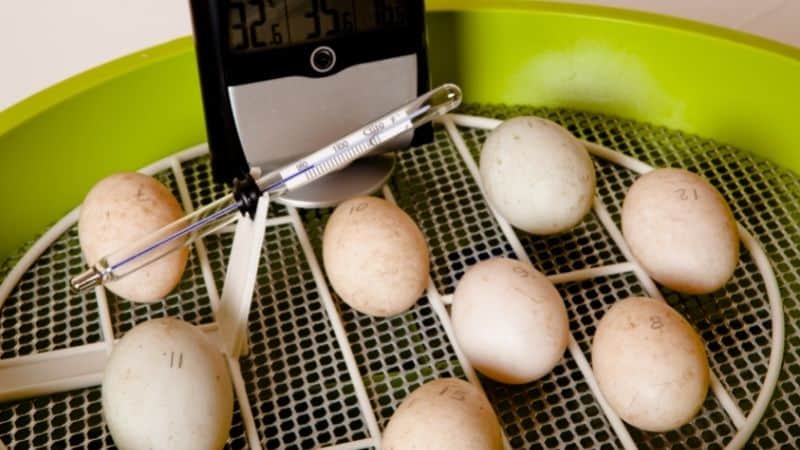
I always recommend having your incubator turned on and cleaned for about a week prior to putting your eggs inside. It is also important that you check that the temperature and humidity gauges work properly. You wouldn’t want to deal with an issue like that when you are trying to keep the eggs appropriately incubated because dramatic changes in humidity can adversely affect the chicks.
I have used the Brinsea Mini II Advance Automatic Egg Turner Incubator for a while now and I really like it. While incubators can be costly, I really think that this one is worth the money and has certainly paid for itself at this point.
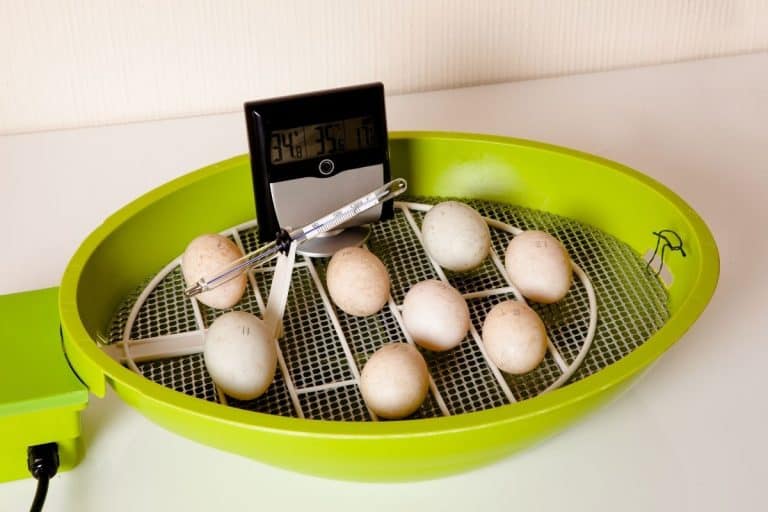
Temperature: 100.5° F is the optimum temperature, but there can safely be a range of about 99 – 100°. Do not allow the temperature to go above or below that range for long as it can spell disaster for your eggs.
Humidity: Day 1-17 the relative humidity should be around 50-55%. Make sure to check on the water reservoirs regularly. They need to stay full to maintain proper humidity as this is part of the wet or traditional incubation method.
Pro Tip: Use a hygrometer to assess proper humidity levels.
Dry Incubation Method
As a side note, I wanted to bring up the dry incubation method. This is exactly what it sounds like. You don’t put water in the incubator reservoirs until the lockdown phase. One of the biggest reasons for hatch failures is due to poor humidity control during the incubation process, so the dry method makes it easy and eliminates the issue.
You do still have to apply water during the lockdown phase because the chicks require a higher humidity in order to properly hatch.
This is the method that I prefer to use when hatching eggs. I had struggled in the past with poor hatch rates and I believe it was due to improper humidity control. Since I switched to doing the dry incubation method, I have had much more successful hatches!
#3: Day 1-17 Setting And Turning The Eggs
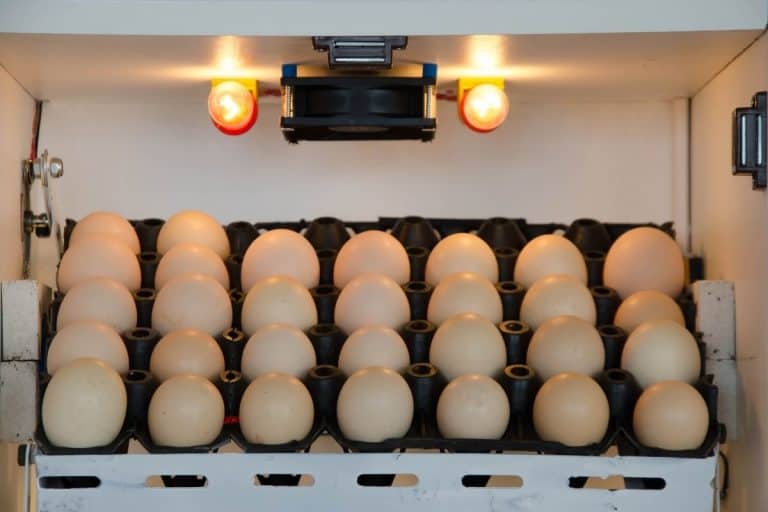
Always place multiple eggs inside the incubator. Chickens are flock animals and thrive better when they have other chicks to huddle together and spend time with. When setting the eggs inside the incubator, have the larger end facing up and the smaller end pointing down.
After this, set your temperature and humidity and leave the eggs alone, only checking the thermometer and hygrometer occasionally to ensure it is maintaining a proper environment.

Turning the eggs is crucial for their development. If they are not physically turned several times a day, the chick can become stuck to the inside of the shell. This is because the embryo is on top of the yolk, which floats upward on the egg white and towards the shell if the egg is not turned. When this happens, the embryo becomes squeezed between the yolk and the shell, which can cause fatal damage to the chick inside.
By turning the egg, we are moving the yolk away from the shell, keeping the embryo out of danger.
#4: Candling The Eggs
Candling is where a bright light is shined through the larger part of the egg. When doing this, you are looking for the egg to be either opaque or have vein-like formation on the inside. This means there is a viable embryo inside the egg and it should be kept in the incubator.
If there is an obvious yolk, is clear or has no vein-like formation developing then the egg was infertile or died later during incubation.
This step is performed at the beginning and near the middle of the incubation process. It is important that you check to see if the embryos are developing properly because it would be unnecessary to keep an infertile or dead egg inside the incubator.
#5: Day 18-21 The Lockdown Phase
Once the lockdown phase hits, it is crucial that you DO NOT open the incubator. By day 18, the embryo should be developed into a chick and will be occupying most of the space inside the shell.
A few things you can do to help the chicks hatch:
- Stop turning the egg by day 18, settling with the egg having the large end up. The chick should put itself in the proper position for hatching.
- Keep the temperature around 100° F and set the humidity to 70%.
This is the ideal time to set up your brooder box with starter chick feed, water fount, bedding and a heat source.
#6: Day 21 – Hatching Day!
The most exciting day has arrived: hatching day! Ideally, the chicks will hatch on the 21st day of incubation, but it is certainly possible for some stragglers, especially if the incubator was opened later and the temperature or humidity dropped some.
Try not to worry too much! It is very likely that they will still hatch within the next few days.
Leave your chicks inside the incubator after they’ve hatched and lower the temperature to about 95° F. All of them should be dried before removing them and placing them into the brooder box.
#7: Candle Any Unhatched Eggs
If by day 23 there are still any unhatched eggs, you should candle them to see if there is actually a live chick inside or if the embryo died. If you are struggling to tell with a light, you can always try the float or sink method.
Place the egg in baby bottle temperature water, if the egg floats vertically it is likely that the egg is not viable and should be discarded. If the egg floats horizontally or at an angle, it is possible that the chick is just a straggler and should be popped back into the incubator for another day or so.
What Not To Do When Incubating Chicken Eggs
There are certainly a few things that are a big no-no when incubating eggs. Learning the dos and don’ts only means that you will be more prepared and have more successful hatch rates, so let’s go over some of the ‘DO NOTS’ of incubating eggs.
Don’t Forget To Turn Them
If you purchased an incubator with an automatic turner then you don’t need to worry about this. If your device is a simpler one that requires manual turning by you, then you want to make sure you’re doing this several times a day. Not turning the eggs will be detrimental and lead to fatalities or damaged chicks.
Related article: What Happens if you Don’t Turn Eggs in an Incubator?
DO NOT HELP
The chicks don’t need your help. Let the chick hatch on its own! I know that it is tempting to help when it looks like one of the babies is struggling, but they will get it. Actually, the struggle to emerge from their shells only makes the chicks stronger! Also, prematurely removing the shell from the chick could potentially damage or kill the baby if it has blood vessels that haven’t dried up or detached from the chick yet.
Do Not Open The Incubator During Lockdown
The lockdown phase (final 3 days) is extremely important for hatching. The humidity and temperature need to stay consistent and not drop dramatically, which is what happens when the lid is opened on the incubator. When the humidity drops, it causes the membrane within the egg to shrink, which can trap and prevent the chick from hatching.
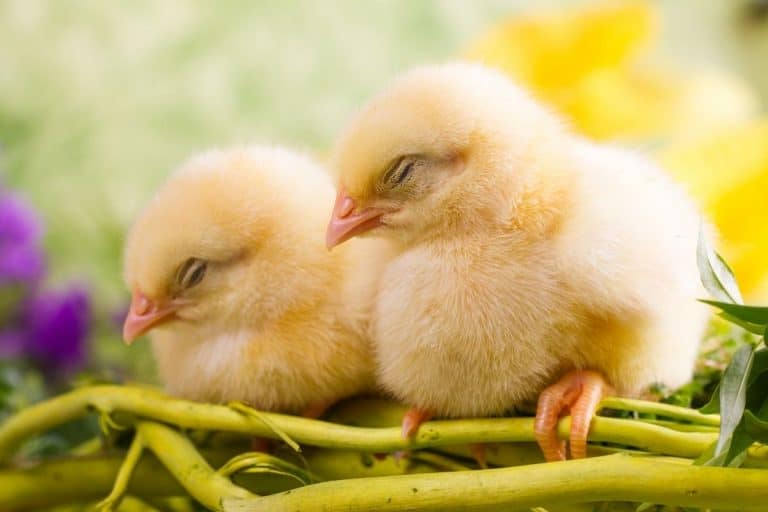
Now You Know How To Incubate Your Chicken’s Eggs
This process, while a delicate one, is exciting and rewarding. Try not to get discouraged if one or two doesn’t make it, this is normal! As long as you have done your research and follow the proper steps, you should have a pretty successful hatch. You will have little peeping chicks running around in their warm and cozy brooder box in no time!
And feel free to check my other articles to successfully raise the babies:
- Do Baby Chickens Need A Heat Lamp?
- Do Baby Chickens Sleep A Lot? (Should you worry about it?)
- When Does A Baby Chicken Leave Its Mother?